Easy Maple Scones: Your Guide to Buttery, Glazed Brunch Perfection
Imagine a chilly morning, the aroma of warm maple filling your kitchen, and a plate of golden, tender pastries waiting for you. That’s the magic of easy maple scones. These delightful treats strike the perfect balance between comfort and elegance, making them an ideal choice for a cozy breakfast, a leisurely brunch with friends, or a sophisticated afternoon tea. With their delicate crumb, rich maple flavor, and a luscious, sweet glaze, maple scones feel like a bakery masterpiece, yet they are surprisingly simple to create in your own home.
Inspired by classic recipes that champion quality ingredients and straightforward techniques, these maple scones are designed to deliver pure satisfaction without any fuss. They are minimally sweetened in the scone itself, allowing the natural warmth of maple to shine through, beautifully complemented by a pourable maple glaze that adds just the right touch of sweetness. Get ready to elevate your baking game and indulge in truly unforgettable homemade scones.
What Makes Maple Scones Irresistible?
Maple scones are more than just a baked good; they’re an experience. What sets them apart and makes them so utterly irresistible? It comes down to a harmonious blend of texture, flavor, and versatility.
- Buttery, Tender Crumb: The hallmark of a great scone is its texture. Maple scones boast a light, tender, and slightly crumbly interior that practically melts in your mouth. This isn't a heavy, dense pastry; it's delicate and airy, a testament to proper technique and quality butter.
- Warm, Rich Maple Flavor: Pure maple syrup is the star here, infusing the scones with its distinctive, cozy sweetness. Unlike artificial flavorings, pure maple offers a complex, earthy note that is both comforting and sophisticated. The flavor is present but not overpowering, leaving a pleasant warmth with every bite.
- Perfectly Balanced Sweetness: One of the brilliant aspects of maple scones is their balanced sweetness. The scone dough itself is only lightly sweetened, allowing the pure maple notes to truly shine. The sweetness is then primarily delivered through the smooth, pourable maple glaze, giving you control over the final sugar level and ensuring it’s never cloyingly sweet.
- Elegant Yet Approachable: Whether arranged beautifully on a platter for entertaining or enjoyed with a simple cup of coffee on a quiet morning, maple scones exude an understated elegance. They feel special without being overly complicated to make, proving that some of the best treats are born from simple, wholesome ingredients.
- Versatility for Any Occasion: From a quick afternoon pick-me-up to the centerpiece of a holiday brunch spread, maple scones fit seamlessly into any scenario. They pair wonderfully with a variety of beverages and accompaniments, making them a perennial favorite.
Crafting Your Easy Maple Scones: A Step-by-Step Guide
Creating perfect maple scones is a rewarding process that focuses on gentle handling and high-quality ingredients. Here's how you can achieve buttery, flaky, and glazed perfection right in your own kitchen, drawing inspiration from time-honored methods:
- Prepare Your Workspace: Begin by preheating your oven to 400°F (200°C). Line a large baking sheet with parchment paper to prevent sticking and ensure even baking. Gather all your ingredients, making sure the butter is *very* cold.
- Combine Dry Ingredients: In a spacious mixing bowl, whisk together 3½ cups of all-purpose flour, 1 tablespoon of baking powder (for lift), and 1 teaspoon of kosher salt. Whisking ensures these ingredients are evenly distributed throughout the dough.
- Incorporate the Cold Butter: Add ¾ cup of cold unsalted butter, diced into small cubes, to the dry mixture. Using a pastry cutter or your fingertips, work the butter into the flour until the mixture resembles coarse crumbs with some pea-sized pieces of butter remaining. The key here is to work quickly to keep the butter as cold as possible.
- Whisk Wet Ingredients: In a separate medium bowl, whisk together ¼ cup of pure maple syrup, 2 large eggs (lightly beaten), and ½ cup of heavy cream. Ensure these are well combined.
- Bring Dough Together: Pour the wet mixture into the bowl with the dry ingredients. With a wooden spoon or spatula, stir gently *just until combined*. Be careful not to overmix, as this develops gluten and can lead to tough scones. If using, now is the time to gently fold in 1 cup of chopped walnuts or pecans for added texture and nutty flavor.
- Shape the Scones: Lightly flour a clean work surface. Turn the scone dough out onto the surface. Gently knead the dough a few times – no more than 4-5 times – to bring it together. Pat the dough into a ¾-inch thick round. Using a sharp knife or a round cutter, cut the dough into 8 wedges (like a pizza) or into traditional round shapes.
- Bake to Golden Perfection: Carefully transfer the cut scones to your prepared baking sheet. In a small bowl, whisk 1 egg with 1 tablespoon of milk to create an egg wash. Brush the tops of the scones with this wash; it will give them a beautiful golden-brown finish and a slight shine. Bake for 18–20 minutes, or until the tops are golden brown and a skewer inserted into the center comes out clean.
- Prepare the Maple Glaze: While the scones are cooling slightly on a wire rack, prepare the irresistible maple glaze. In a bowl, whisk together 1¼ cups of confectioners’ sugar, ½ teaspoon of pure maple extract (this really boosts the maple flavor!), 4 tablespoons of pure maple syrup, and 1–2 tablespoons of milk or cream. Start with less liquid and add more, drop by drop, until you achieve a smooth, pourable consistency.
- Glaze and Serve: Once the scones have cooled for about 10-15 minutes (they should still be slightly warm), drizzle or spread the maple glaze generously over the tops. Allow the glaze to set for another 10-15 minutes before serving.
Key Ingredients for Scone Success
The simplicity of scones means that the quality of your ingredients truly shines through. Here’s a closer look at what makes each component essential for perfectly buttery, flaky
Master Ina Garten's Maple Scones: Buttery, Flaky, & Glazed Perfection:
- All-Purpose Flour: The foundation of your scone. While different flours can be used, all-purpose provides the ideal balance for a tender crumb without becoming too dense.
- Cold Unsalted Butter: This is arguably the most critical ingredient. Very cold butter, diced, is key to creating those coveted flaky layers. As the butter melts in the hot oven, it releases steam, which puffs up the dough, resulting in a light, airy texture. Using unsalted butter allows you to control the salt content precisely. For more on this critical step, you might want to explore The Secret to Flaky Maple Scones: Cold Butter and a Rich Glaze.
- Baking Powder: The primary leavening agent. Baking powder reacts with liquid and heat to produce carbon dioxide, giving the scones their characteristic lift and tender structure. Ensure yours is fresh for optimal results.
- Pure Maple Syrup: The star flavor. Opt for pure maple syrup – Grade A or B – for the best, most authentic maple taste. Avoid artificial syrups, which won't deliver the same depth or natural sweetness.
- Heavy Cream: Provides richness, moisture, and a tender texture. The high fat content of heavy cream contributes to a more luxurious feel in the scone. Some recipes use buttermilk for a tangy note, but cream offers a classic, comforting richness.
- Large Eggs: Eggs contribute to the structure, richness, and golden color of the scones. They also act as a binder, helping the dough come together.
- Confectioners' Sugar & Maple Extract (for glaze): Confectioners' sugar creates a smooth, lump-free glaze. Maple extract, while optional, truly amplifies the maple flavor in the glaze, making it incredibly aromatic and delicious without adding excessive sweetness.
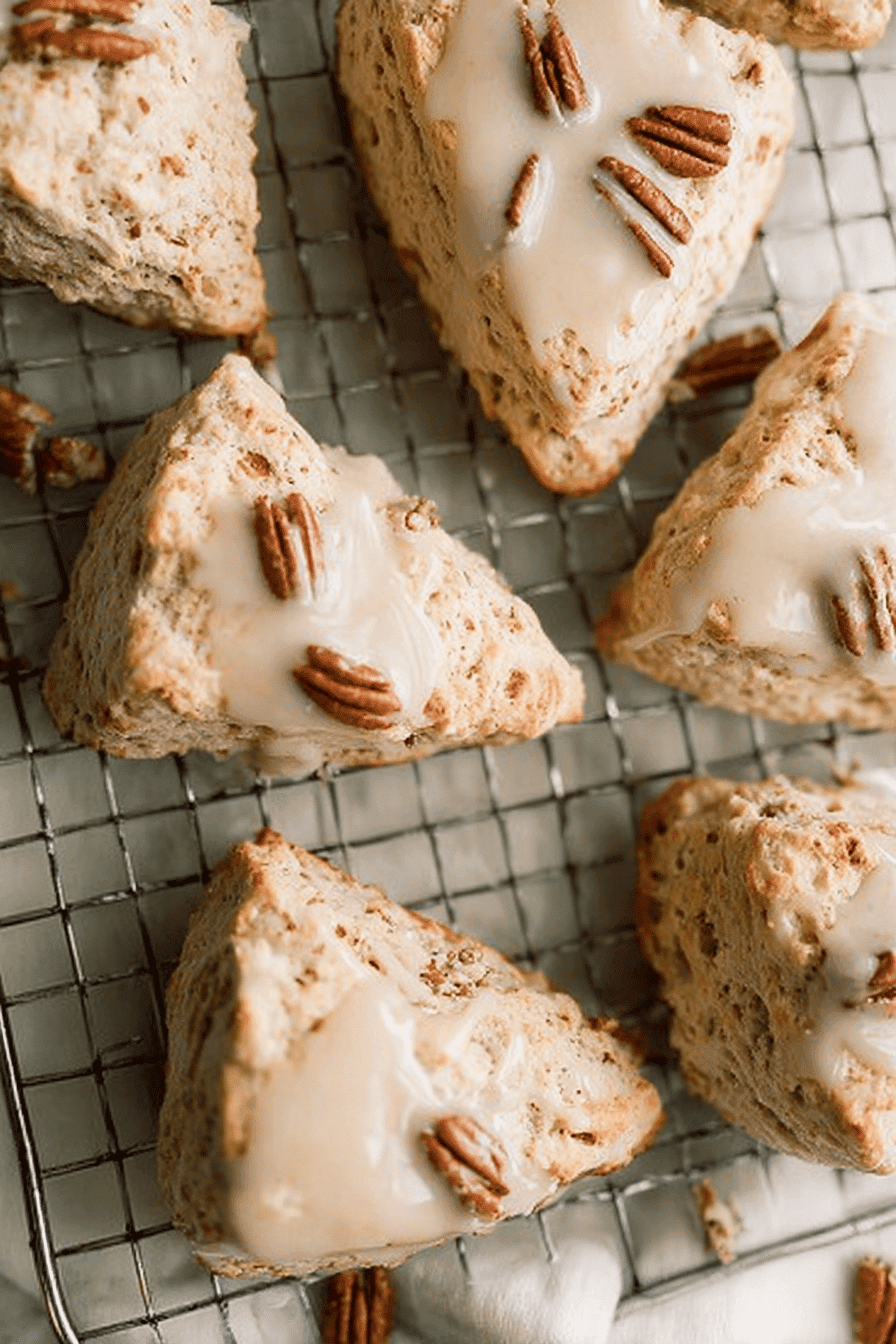
- Optional Add-ins: Chopped walnuts or pecans are wonderful additions, providing a pleasant crunch and complementary nutty flavor that pairs beautifully with maple.
Achieving Maple Scone Perfection: Expert Tips & Tricks
While the recipe for easy maple scones is straightforward, a few expert tips can elevate your baking from good to truly exceptional:
- Keep Everything Cold: This cannot be stressed enough. Not just the butter, but consider chilling your flour and even your mixing bowl for 15-20 minutes before starting. The colder your ingredients, the flakier your scones will be.
- Do Not Overmix: This is the golden rule for scones. Overmixing develops gluten, which leads to tough, chewy scones rather than light and tender ones. Stir the wet and dry ingredients together just until *barely* combined, even if there are a few streaks of flour visible. A light touch is your best friend.
- Minimal Handling: When you turn the dough onto your floured surface, resist the urge to knead it extensively. A few gentle folds (4-5 times) are sufficient to bring the dough together. Excessive handling warms the butter and develops gluten.
- Sharp Cuts: Whether you're cutting wedges or using a round cutter, make clean, decisive cuts. Avoid twisting the cutter, as this can seal the edges of the scone, preventing it from rising properly.
- Egg Wash Benefits: Don't skip the egg wash! It's what gives your scones that beautiful, glossy, golden-brown crust.
- Adjust Glaze Consistency: For the glaze, always start with less liquid (milk or cream) than you think you'll need. You can always add more, a teaspoon at a time, until you reach your desired drizzling or spreading consistency. A thicker glaze will set more firmly, while a thinner one will create a delicate sheen.
- Make-Ahead Magic: Scones are wonderful for make-ahead baking. You can cut the unbaked scones and place them on a parchment-lined baking sheet in the freezer. Once frozen solid, transfer them to an airtight container or freezer bag. When ready to bake, place them directly from the freezer onto a prepared baking sheet and add an extra 5-10 minutes to the baking time.
- Storage: Store baked maple scones in an airtight container at room temperature for up to 2-3 days. For best results, warm them slightly in the oven or microwave before serving.
Perfect Pairings & Serving Suggestions
Maple scones are delightful on their own, but they also shine when paired with complementary flavors and beverages. Elevate your scone experience with these suggestions:
- Classic Cream Pairings:
- Clotted Cream: The ultimate indulgence, offering a rich, velvety texture.
- Whipped Cream: A lighter alternative, especially delicious with a hint of vanilla.
- Maple Butter: For an extra dose of maple goodness, whip softened butter with a touch of maple syrup.
- Fruit & Spreads:
- Fresh Berries: Strawberries, raspberries, or blueberries add a burst of freshness and color.
- Fruit Compotes or Jams: Raspberry jam, apple butter, or pear compote provide a lovely contrast.
- Lemon Curd: The zesty tang of lemon beautifully cuts through the richness of the scone.
- Beverage Companions:
- Hot Coffee: A rich, dark roast or a creamy latte is a perfect match.
- Black Tea: Earl Grey, English Breakfast, or chai tea complement the maple notes beautifully.
- Cider or Mulled Wine: For a festive or autumnal touch, pair with warm apple cider or spiced mulled wine.
- Brunch Spreads:
- For a full brunch, serve alongside savory items like scrambled eggs, crispy bacon, or sausage links.
- A bowl of Greek yogurt with a drizzle of honey and granola offers a fresh, lighter counterpoint.
In conclusion, these easy maple scones are a true testament to the simple pleasures of home baking. With a focus on quality ingredients, minimal handling, and a touch of maple magic, you can create a batch of buttery, flaky, and beautifully glazed pastries that will impress and delight. Whether you're an experienced baker or just starting your culinary journey, following this guide will lead you to brunch perfection. So, roll up your sleeves, embrace the warmth of maple, and savor every tender bite of your homemade maple scones. They're more than just a treat; they're an invitation to slow down, enjoy the moment, and indulge in pure, comforting deliciousness.